Thank you so much for downloading the Mallow theme.If you have any questions that are beyond the scope of this help file, please feel more than free to email us via our support page.
Requirements: PHP 5+, MySQL 5+, Legal theme download, and Self-Hosted WordPress.
1. Getting Started
Congratulations on purchasing this classy and flexible Responsive Magazine WordPress theme. We hope that this will give you the creative space to really express yourself using the written word! The main goal of this document is to walk you through the various significant features of the theme including how to install and use them.
If you find any bugs with this theme please contact us and include a clear description of the problem so we can fix it. However, take note that we do not support modifications such as changing the appearance or functionality of the theme.
Note: If you are using this theme on a fresh WordPress installation with no articles, then you can simply start using this theme. If you are using it on an established site with lots of content, then the first thing you need to do is install the Force Regenerate Thumbnails WordPress plugin. Then go to Tools > Force Regenerate Thumbnails.
2. Theme Installation
Installing a WordPress theme is easy to do and only takes two steps – uploading the theme and theme activation. A theme can be uploaded either using the WordPress dashboard or via FTP. Once a theme is uploaded, you can easily activate the theme from the WordPress dashboard.
2.1 Upload the Theme Using the WordPress Dashboard (Easy)
- First extract the downloaded zip file.
- Login to your WordPress dashboard.
- Navigate to Appearance > Themes.
- Select Upload Theme.
- Click on Browse, select the Mallow.zip file from within the extracted folder, and click on the Install Now button.
2.2 Upload the Theme Using an FTP Client (Advanced)
- First extract the downloaded zip file.
- Sign into your web server using your preferred FTP client.
- Upload the theme file to /wp-content/themes/directory.
- Login to your WordPress Dashboard.
- Navigate to Appearance > Themes and activate the Mallow theme.
2.3 Activating the Theme
To activate the theme, go to Appearance > Themes and find the Mallow theme. Click on the Activate link to activate the theme for use on your website.
3. Theme Setup
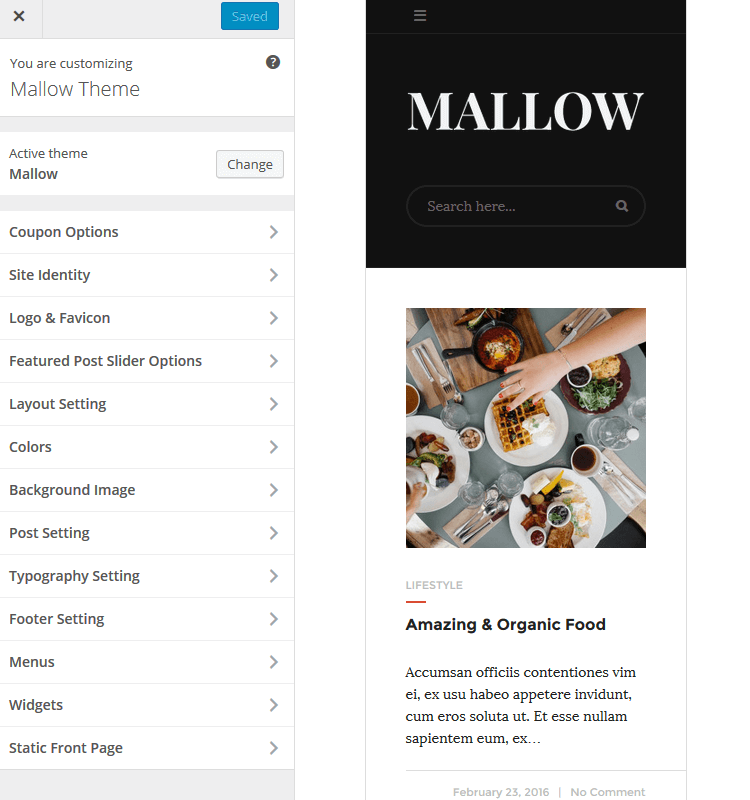
To customize any element of your Mallow theme navigate to Appearance > Customize on your WordPress dashboard. Here you will see several menu options for customizing your website using the Live Theme Customizer.
3.1 Image Dimensions
Featured Slider Images
The dimension of the featured slider image is 900px.
Post Listing Images
For websites using the 1 column layout option, the post listing image dimensions are 640px X 480px and are cropped automatically by the custom thumbnail size.
For websites using the 2 or 3 column layout, the post listing image dimensions are 300px X 300px and are cropped automatically by the custom thumbnail size.
Other Images
Mallow also uses some other image dimensions that are generated automatically when you add featured images to articles.
Note: If you are using this theme on an old blog where you have already added articles and featured images, then you must use the Force Regenerate Thumbnails plugin once as defined in section 1 of this documentation.
4. Coupon Options
This theme supports a coupon section. To customize your coupon section use the Live Theme Customizer and select the menu item Coupon Options.
4.1 Coupon Homepage & Archives Page
To customize a coupon homepage select Coupon Options > Coupon Homepage & Archives Page.
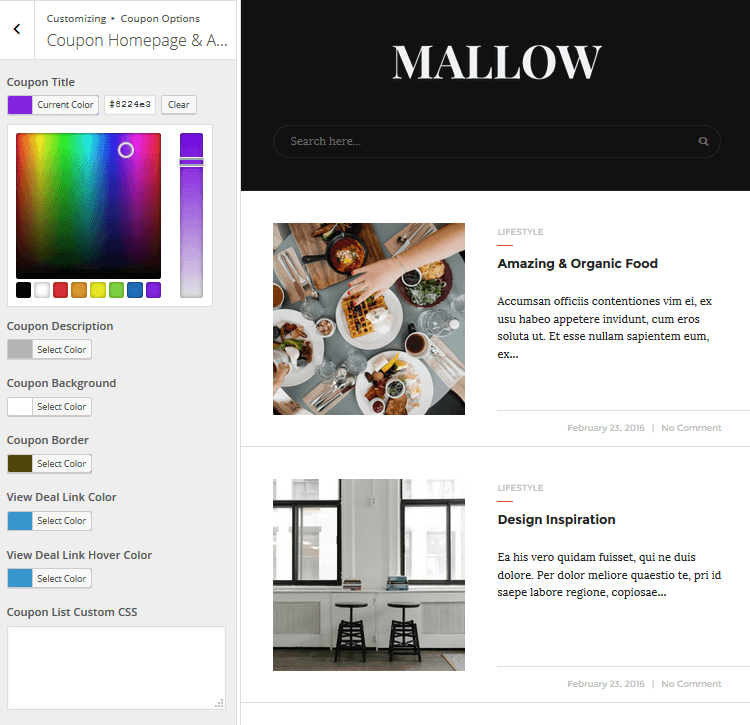
Using the intuitive color picker customize the colors for:
- Coupon Title: The text color of your coupon’s title.
- Coupon Description: The text color of your coupon’s description.
- Coupon Background: The background color of your coupon.
- Coupon Border: The border color of your coupon.
- View Deal Link Color: The link color for your coupon deal.
- View Deal Link Hover Color: The hover color for viewing your coupon deal.
- Include Coupon List Custom CSS: If you want to add any custom CSS to your coupon section, you can add it here.
4.2 Coupon Single Page
To customize a single coupon page select Coupon Options > Coupon Single Page.
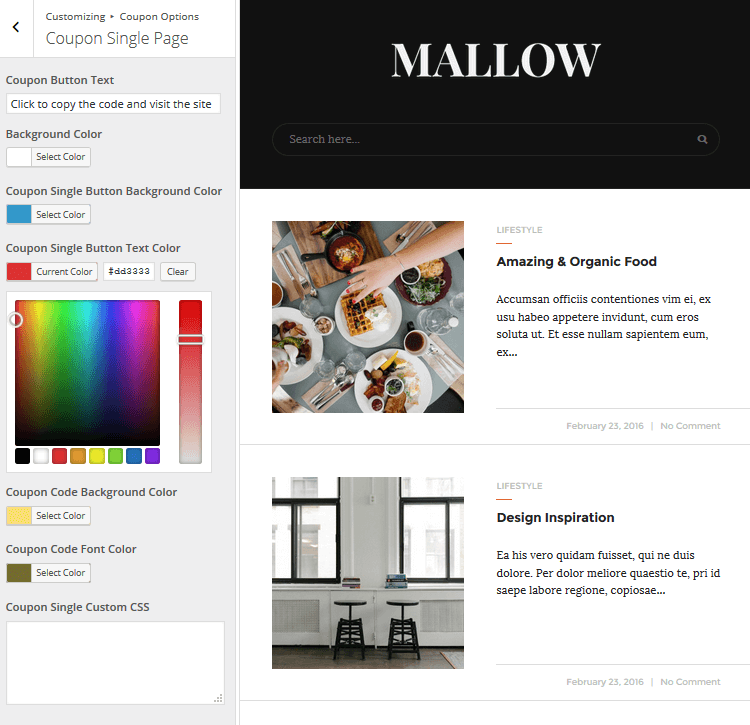
Again using the intuitive color picker customize the colors for:
- Coupon Button Text: Include the preferred text to display on your coupon button.
- Background Color: The color of your coupon’s background color.
- Coupon Single Button Background Color: The background color of your coupon button.
- Coupon Single Button Text Color: The text color of your coupon button.
- Coupon Code Background Color: The coupon code background color.
- Coupon Code Font Color: The coupon code font color.
- Include Coupon Single Custom CSS: If you want to add any custom CSS to your coupon section, you can add it here.
5. Site Identity
To create an identity for your website select Site Identity to title your website, add a tagline, and upload a Site Icon. The Site Icon is used to identify your website in browsers. It must be a square image and at least 512 pixels wide and tall.
6. Logo and Favicon
To upload a custom logo select Logo & Favicon where you can upload your own custom logo and favicon image.
7. Featured Post Slider Options
The Mallow theme supports a featured post slider option for displaying large images. To configure the slider select Featured Post Slider Options from the Theme Customizer.
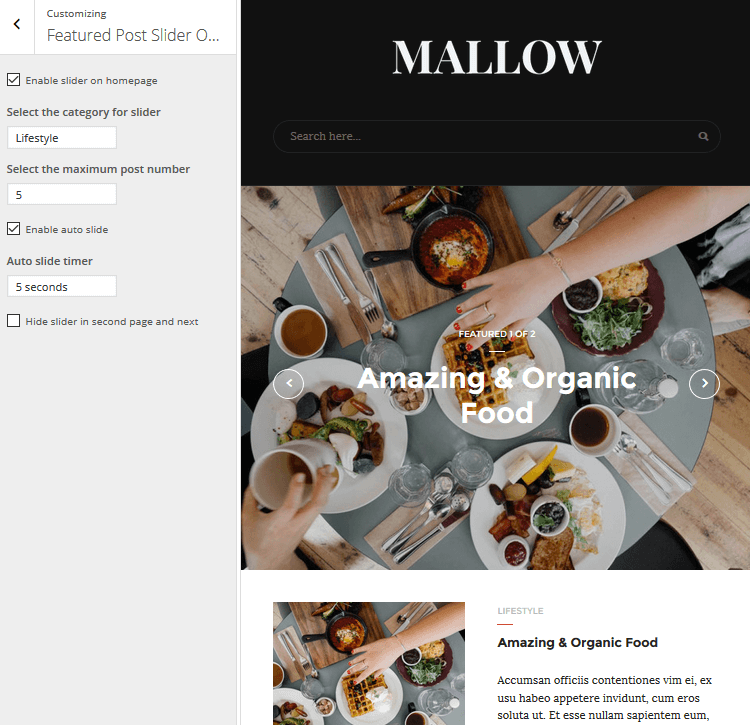
- Choose to enable the slider on your homepage.
- Select the category for your slider.
- Determine the maximum post number and enable auto slide.
- Set the auto slide timer.
- Select whether to hide your slider on the second page and next.
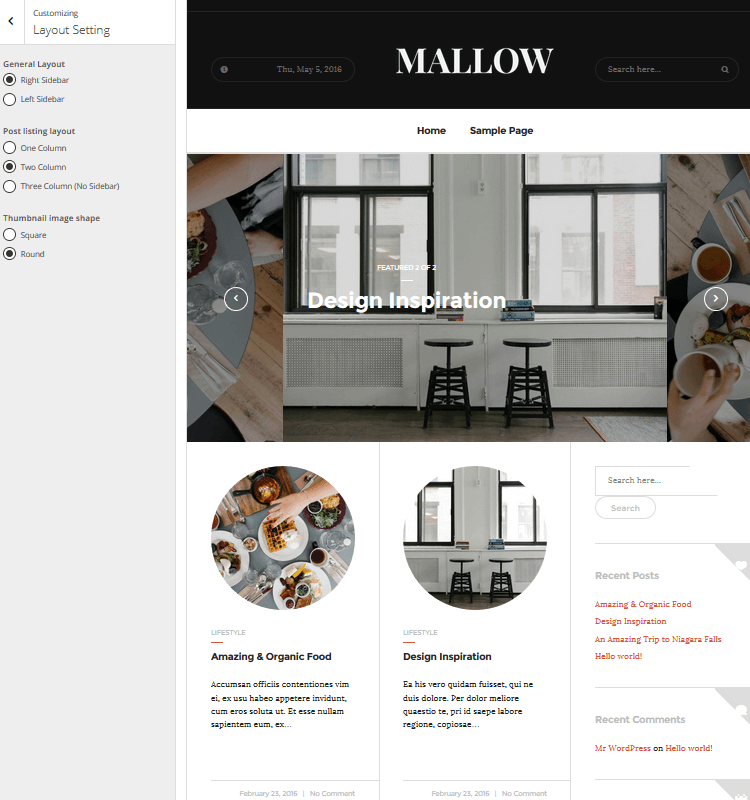
8. Layout Setting
With Mallow you have the option of changing the general homepage layout of your website to display the sidebar on the right or left side under the Theme Customizer menu item Layout Setting. From there you can also choose from three different post layouts:
- One column: Thumbnail image with category information, post excerpt, date, and comment information in one single column.
- Two column: Thumbnail image with category information, post excerpt, date, and comment information in two columns.
- Three column with no sidebar: Thumbnail image with category information, post excerpt, date, and comment information in three columns with no sidebar.
You can also change the shape of the thumbnail images to render square or round.
9. Colors
Use the Live Theme Customizer’s color picker you can change various elements of your website under the Colors option:
- Background Color: Change the background color of your website.
- Top Menu Colors: Includes color customization for the Main Menu background color, Main Menu link color, Main Menu link hover color, and the Main Menu border color.
- Header Colors: Select colors for the header background, text, and borders.
- Secondary Menu Colors: Change the background, menu link, menu link hover, and menu border color on any secondary menus.
- Main Content Colors: This includes the main content background, text, meta, and border colors.
- Footer Colors: Customize the background, font, link, meta/widget title text, and border colors.
10. Background Image
This theme supports a large Background Image that is easily uploaded and displayed on your website.
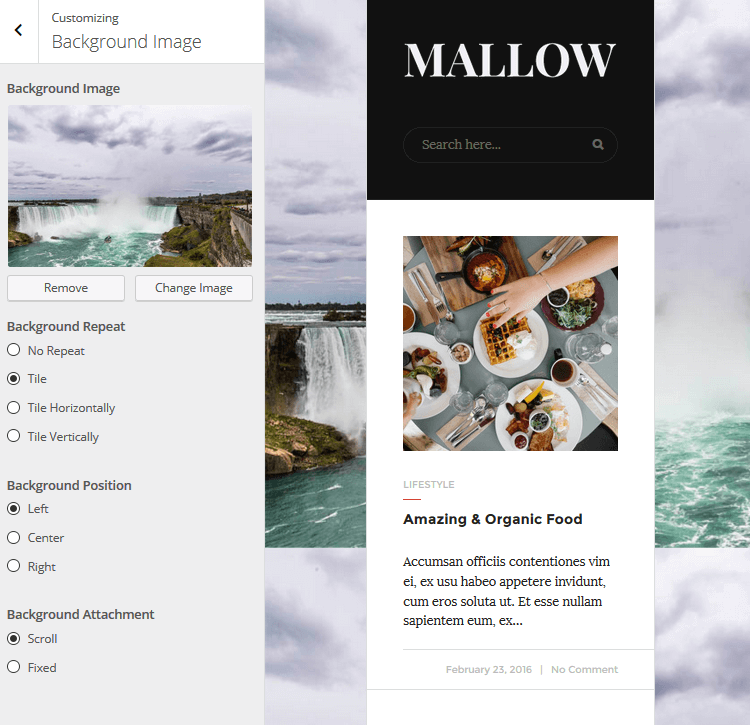
Once the background image is uploaded you will have the chance to configure three things:
- Whether the image will repeat, display as a tile, and whether the tile display will display horizontally or vertically.
- The position of the background image – left, right, or center.
- The Background Attachment – scroll or fixed.
11. Post Setting
You can choose to hide particular posts of certain categories when on the homepage of your website with the Post Setting option.
12. Typography Setting
The theme offers many opportunities to customize various fonts found on your website under the Typography Setting menu item in the Theme Customizer. Pick your font type from the dropdown menus.
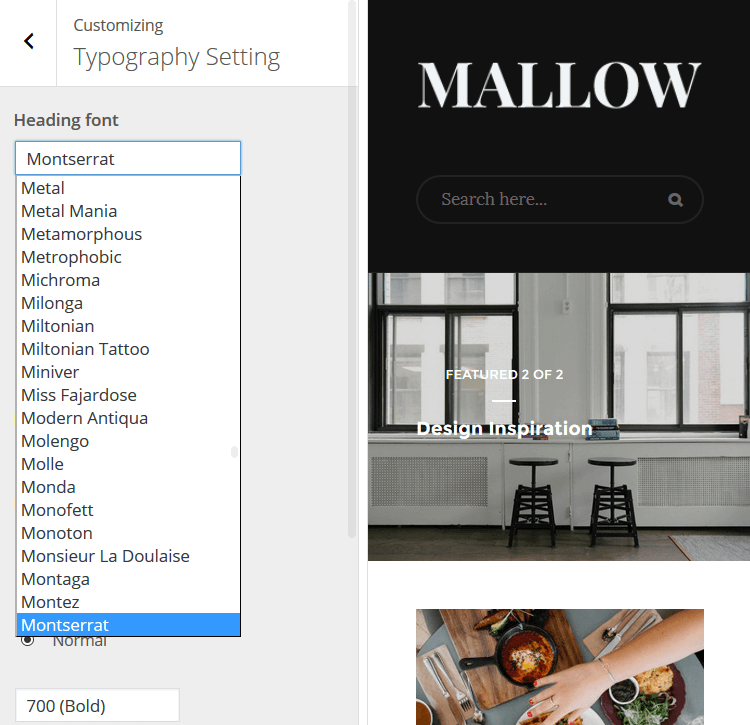
- Heading Font. Dozens of fonts to choose from. Display in italics or as normal, choose a bold strength, and transform your text into uppercase, lowercase, or as capitalized.
- Body Font. Post excerpts and widgets can have their own font setting with the Body Font option.
- Meta Font. Just as you can the heading font, you can change the meta font and choose from italics or normal as well as set a bold strength.
- Menu Font. Give your menus a custom font in italics or normal, with a bold strength, and include text transformation.
13. Footer Setting
Without having to add the <script> tag you can add additional footer script using this option.
14. Menus
Mallow supports three menus: Primary Menu, Secondary Menu, and Footer Menu. By selecting Menu Locations you can add menus to your website for easy user navigation. You can also decide which menu appears in each location. Use the Custom Menu widget to place menus in widget areas.
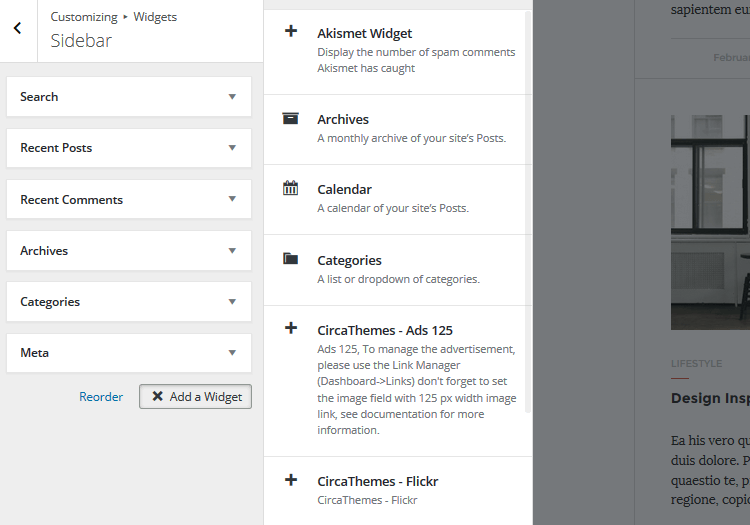
15. Widgets
Navigate to Widgets > Sidebar to customize your sidebar widget areas. By default Search, Recent Posts, Recent Comments, Archives, Categories, and Meta are already included in your widget area. By selecting Add a Widget you can choose from multiple additional widgets and add them to your sidebar. You also have the option to reorder the widgets.
Customize one, two, or three footer widget areas by selecting Widgets > Footer Widget 1 (Footer Widget 2, or Footer Widget 3). Add a widget by choosing from the list that appears after clicking on Add a Widget.
Add a widget in the header or footer section for advertising by clicking on Widgets > Header Advertisement Spot/Footer Advertisement Spot.
16. Static Front Page
The Mallow theme supports a static page. Navigate to the Static Front Page menu item to configure you front page display. Display your latest posts or a static page. By selecting Static Page you will then have the option to designate which page you would like the static front page to be.
17. Translating Your Theme
This theme is a translation ready theme. This means you can translate it to your desired language. To translate your theme, you need to follow the given steps:
- First download POEdit and install it.
- Now, open the default.po file that you can find in lang folder of your theme.
- You can now translate each string in your desired language.
- Once you have translated all the strings, you can save the file. POEdit creates two files. You need to save the files using following naming convention:
languagecode_countrycode
If you are translating your strings to french language, your file names will look like:
fr_FR.po
fr_FR.mo
- Now open up your wp-config.php file which you can find in WordPress root directory. Find the following string in the file:
define (‘WPLANG’, ”);
Add name of .po file (that you just created) in this string:
define (‘WPLANG’, ‘languagecode_countrycode’);
- Now download your WordPress language file using this link.
- Save this file.
- Now go to /languages folder in /wp-content directory on your WordPress installation and paste your language files in /languages folder.
- Now go to Settings > General and choose your language using the Site Language dropdown list.
You can read more about translating WordPress at the following links:
http://codex.wordpress.org/Translating_WordPress
http://www.wikihow.com/Change-the-Default-Language-in-Wordpress
Once again, thank you so much for purchasing this theme. As I said at the beginning, we’d be glad to help you if you have any questions relating to this theme. No guarantees, but we’ll do our best to assist.