This article will guide you on how to install and configure Solopreneur WordPress theme.
#1. Installation and Activation
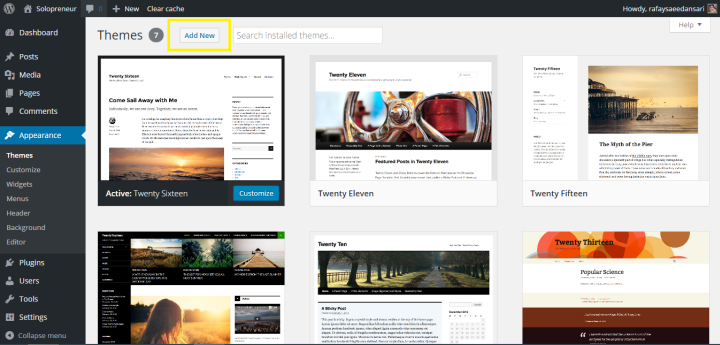
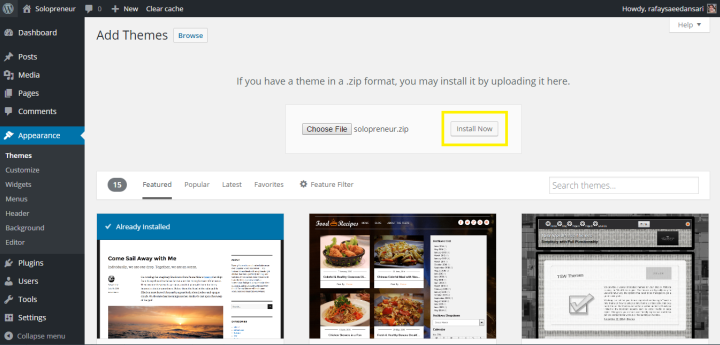
1After you’ve purchased and downloaded the Solopreneur theme, login to your WordPress website to get started.2Navigate to Appearance>Themes and click the Add New button at the top of the following screen. In the Add Themes screen, click the Upload Theme button.
3Click the Choose File button and search for your licensed copy of the Solopreneur theme on your drive.4Once it is uploaded, click the Install Now button.WordPress will extract the theme and give you details about the installation along the way.
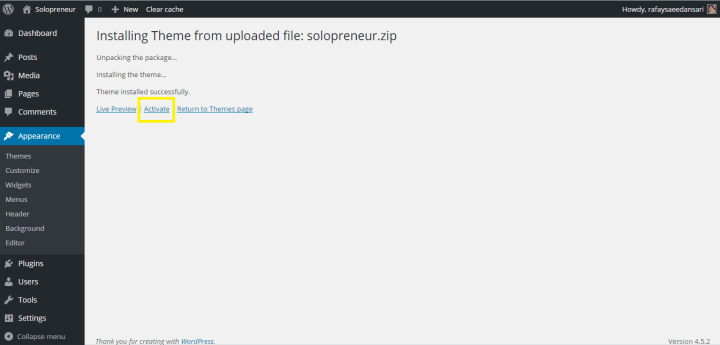
5Once it is installed, you’ll see an Activate link underneath the installation details.6Click the Activate link to proceed.
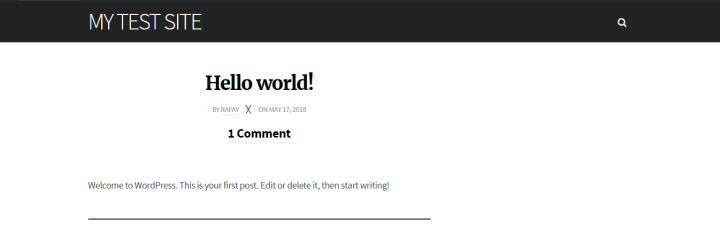
7To make sure everything is in place, visit your WordPress site’s front-end. It should look similar to the Solopreneur theme’s demo.
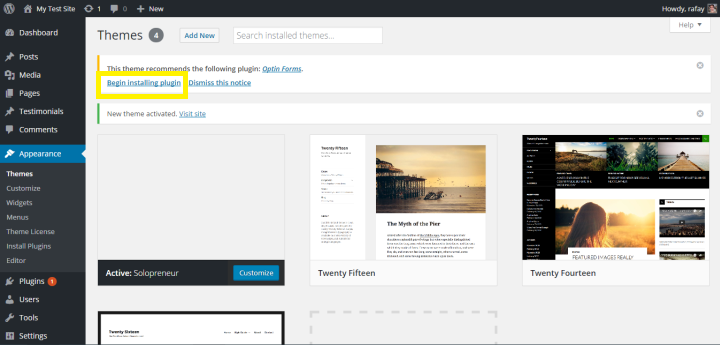
8At this time, you’ll be prompted to install the Optin Forms plugin. The Solopreneur theme requires you to install and activate this theme so click Begin installing plugin to continue
#2. Configuring Solopreneur
Solopreneur is a flexible WordPress theme that has a ton of customization options on offer. In this section, we’ll explore them in detail by walking you through the live customizer.
Navigate to Appearance>Customize from your WordPress site’s dashboard. You’ll see the default WordPress live customizer on the left side of the screen. We’ll start from the top and work our way down.
Site Identity
The Site Identity section in the customizer allows you to add a logo, site title, and a site icon.
- Add a Logo. To add a logo to your website, navigate to Appearance > Customize > Site Identity. Click the Select logo button and upload your logo. The recommended image dimensions are 200 x 56. Adding the logo replaces the site’s title.
- Site Title. The site title displays your site’s title in Solopreneur’s default typeface. (Note: If you have a logo added then the site title will not be displayed.)
- Site Icon. Site icon (also called favicon) is displayed in the tab next to your site’s name. The icon must be square with image dimensions 512 x 512.
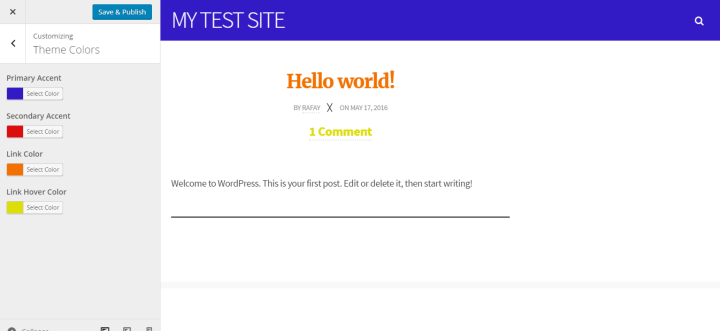
Theme Colors
If you’d like to change the default colors of the theme to fit your business’ brand then head over to Appearance > Customize > Theme Colors to get started. The Theme Colors section allows webmasters to modify:
- Primary accent color.
- Secondary accent.
- Link color.
- Link hover color.
Here’s how it looks if you modify the default color palettes.
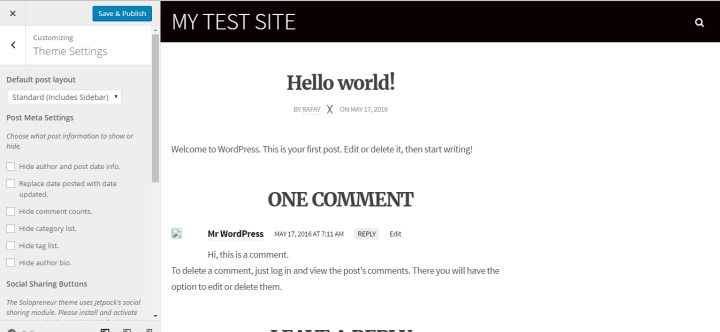
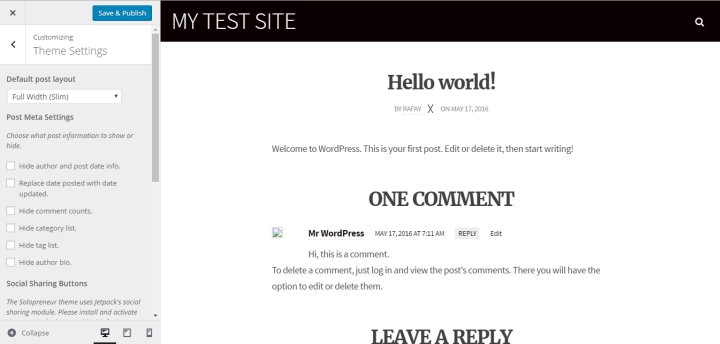
Theme Settings
The Theme Settings option enables webmasters to modify the default post layout. By default, there are three options available in the drop-down menu:
Standard (includes Sidebar)
Full Width (Slim)
Full Width
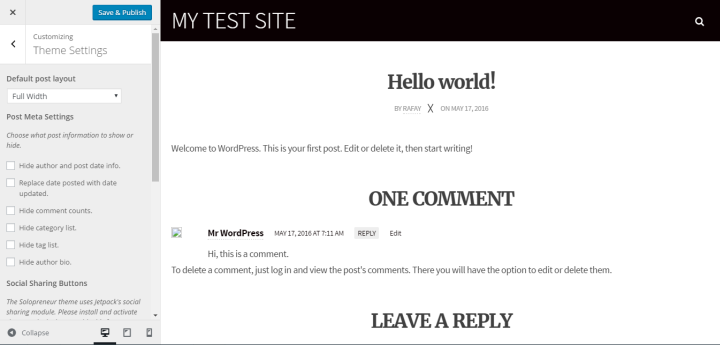
The Theme Settings options panel also allows users to modify the post meta settings by selecting which post information elements to display and which to leave out. All you have to do to show/hide the elements is tick the box next to the post information element. Users can choose to show/hide:
- Author and post date information.
- Replace date posted with date updated.
- Hide comment counts.
- Hide category list.
- Hide tag list.
- Hide author bio.
In addition to this, users can also configure the social sharing buttons from this menu. Solopreneur uses Jetpack’s social sharing module. To be able to make modifications, you will have to activate the module first.
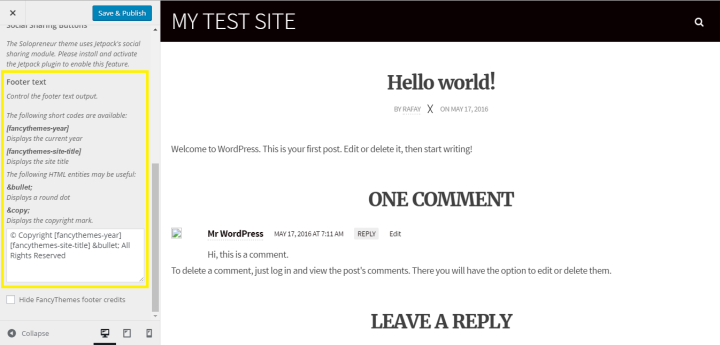
Users can set the footer’s text from the Theme Settings menu, as well. There are two shortcodes and two HTML entities available that make it easier to set a professional-looking footer. You can also choose to hide FancyThemes’ footer credits if you’d like.
Theme Fonts
The Theme Fonts panel allows you to select from a wide-range of fonts for the Base font and the Heading font. In addition to this, you can also change the font size of the Heading font.

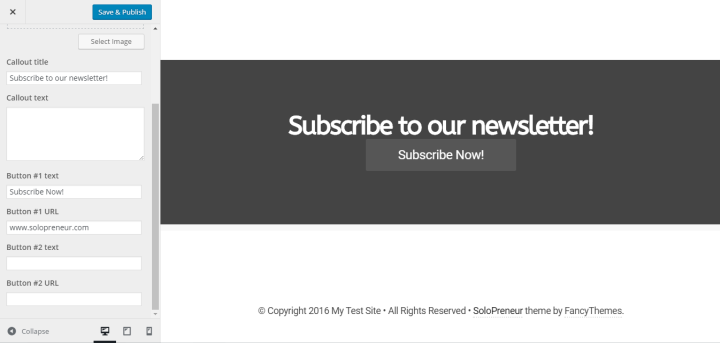
Footer Callout
Footer Callout section allows users to set a background image on their footer. Once you set this, you can also add a callout title, callout text, and two buttons.
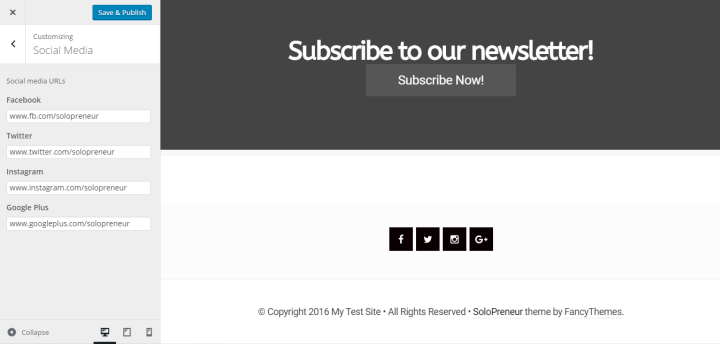
Social Media
The Social Media panel enables users to add links to four social media networks for their business:
- Facebook.
- Twitter.
- Instagram.
- Google Plus.
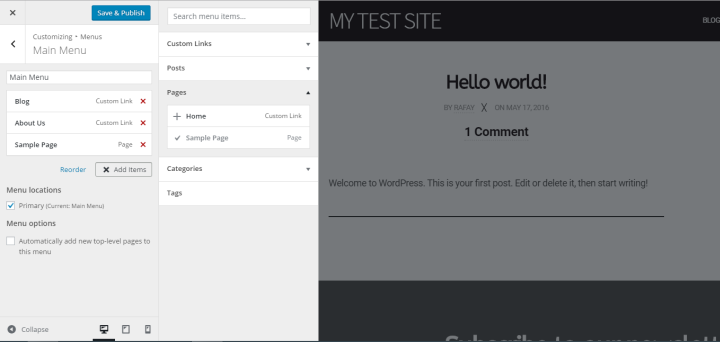
Main Menu
Users can customize their site’s main menu from the customizer. Adding items to the menu is easy. You can select from five different types of menu items to add:
- Custom Links.
- Posts.
- Pages.
- Categories.
- Tags.
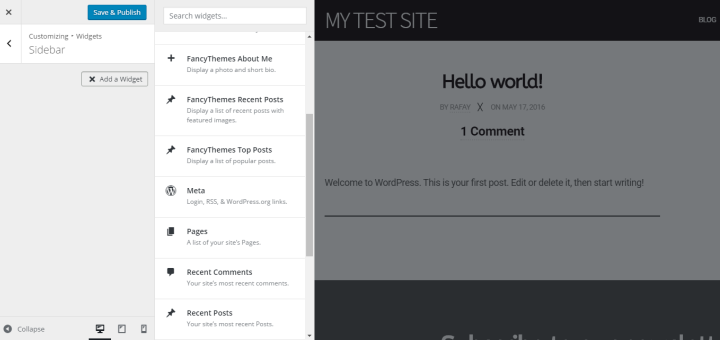
Widgets
Solopreneur displays newsletter subscription widgets using the Optin Forms plugin. Users can add widgets to the sidebar and to their site’s footer. The widgets include the default WordPress widgets in addition to FancyThemesAbout Me, FancyThemes Recent Posts, and FancyThemes Top Posts.
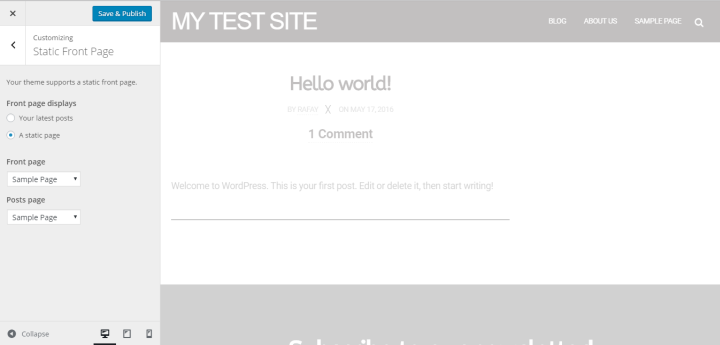
Static Front Page
Solopreneur supports a static front page which enables users to select what to display on their front page. By visiting Appearance>Customize>Static Front Page, you’ll find that you have two options. Either you can display your latest posts or select a page to display.
#3. Suggested Image Sizes
| Page Element | Size |
| Logo | 200 x 56 |
| Site Icon | 512 x 512 |