1To create a landing page with Solopreneur navigate to Pages > Add New from the WordPress dashboard.
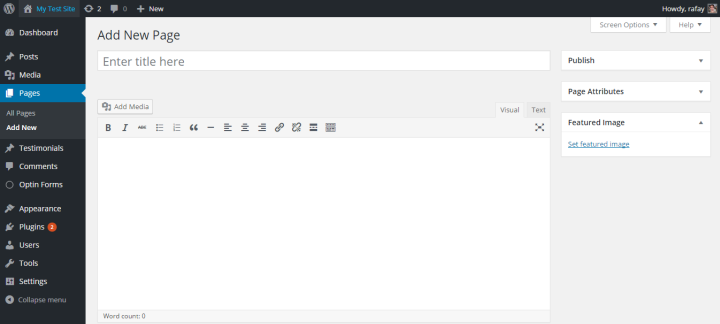
2In the sidebar of the Add New Page screen, you’ll find the Page Attributes widget.
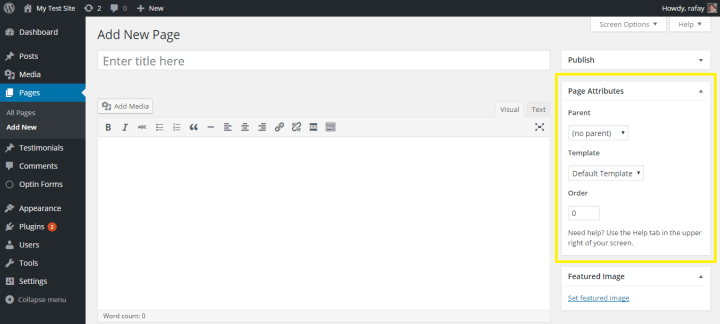
3Click on the drop-down menu under the Template section and select Landing Page v1.
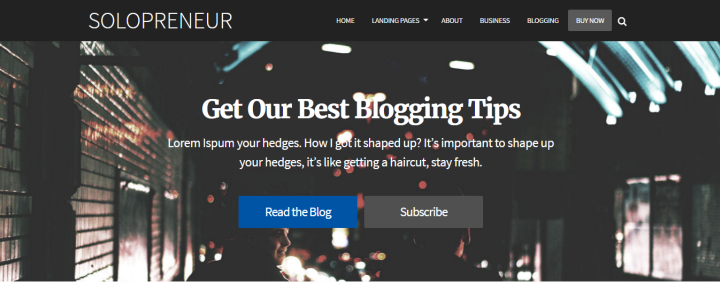
Landing Page 1 Preview
Customizing Landing Page 1
To start customizing the Landing Page 1 template, scroll down below the text editor.
Header Style
You can choose to hide the full header and display only the logo/title by ticking the box in the Landing Page – Header Style box.

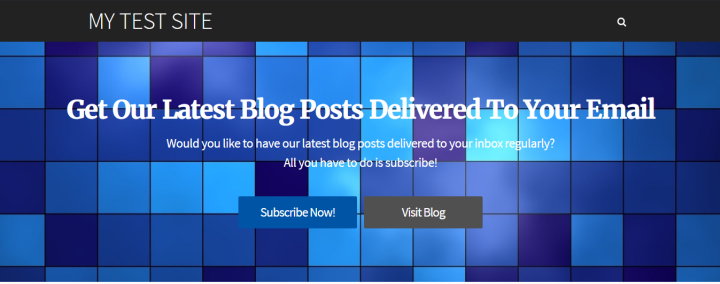
Hero Section
The Landing Page – Hero Section allows users to add:
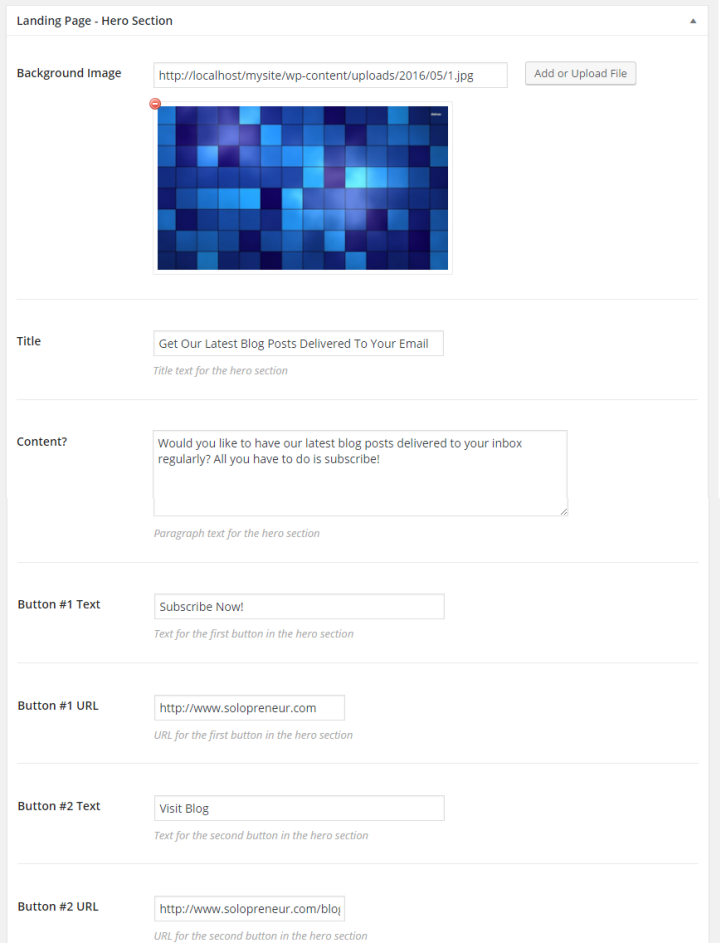
- Background Image.
- Title.
- Content.
- Button 1.
- Button 2.
Once you’ve added all of this, your site’s landing page should look something like this:
Logos Section
The Landing Page – Logos Section allows users to add logos of brands that their work may have appeared on. A popular example of this is an As Seen On section.

- Add a title for the logos section.
- Add the logos of the companies you’d like to have displayed. You can add up to four logos.

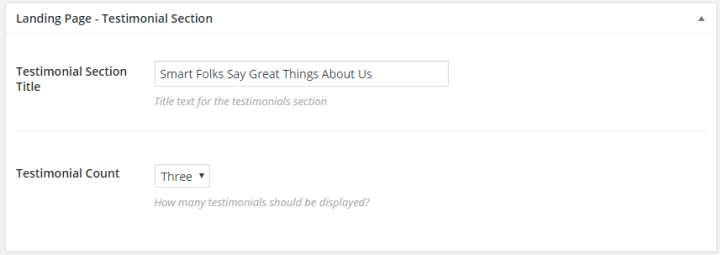
Testimonial Section
Users can upload testimonials of their work, products, or services through the Landing Page -Testimonial Section.
- Add a suitable title in the Testimonial Section Title box.
- Choose how many testimonials you’d like to have displayed by selecting its count from the Testimonial Count drop-down menu.
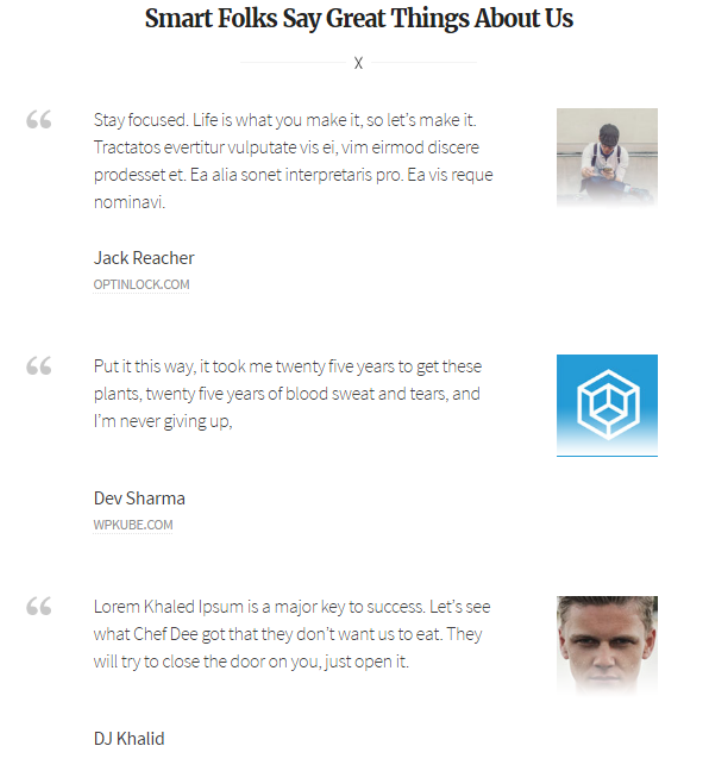
Once you’re done adding the details, it should look something like this:
At the end of the landing page, you can add another button if you’d like.
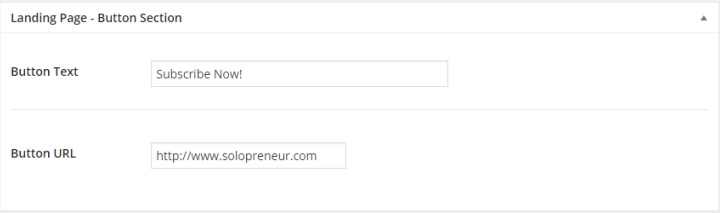
- If you’d like to enable this option then scroll down to the Landing Page – Button Section.
- Give your button a name.
- Assign the URL that the button should re-direct the user to.