1To create a landing page with Solopreneur navigate to Pages> Add New from the WordPress dashboard.
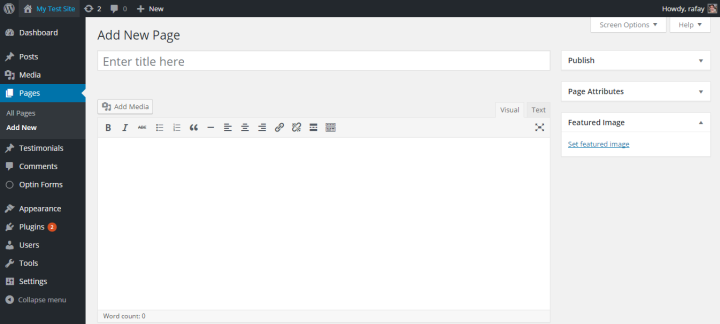
2In the sidebar of the Add New Page screen, you’ll find the Page Attributes widget.
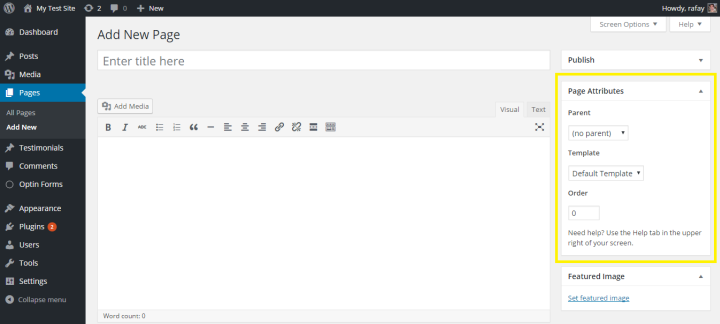
3Click on the drop-down menu under the Template section and select Landing Page v2.
Landing Page 2 Preview
Customizing Landing Page 2
To start customizing the Landing Page 2 template, scroll down to the landing page widgets on the Add New Page section.
Header Style
You can choose to hide the full header and display only the logo/title by ticking the box in the Landing Page – Header Style box.

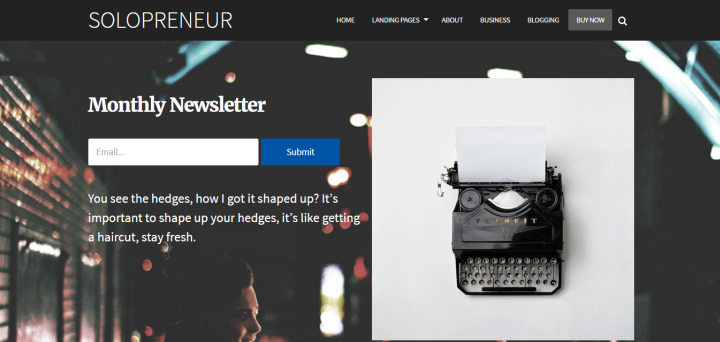
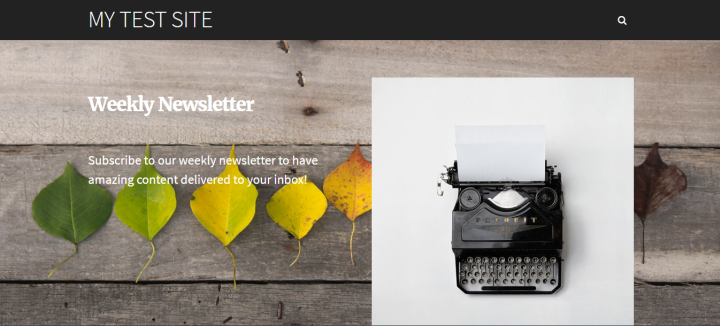
Hero Section
The Landing Page – Form Hero Section allows users to add:
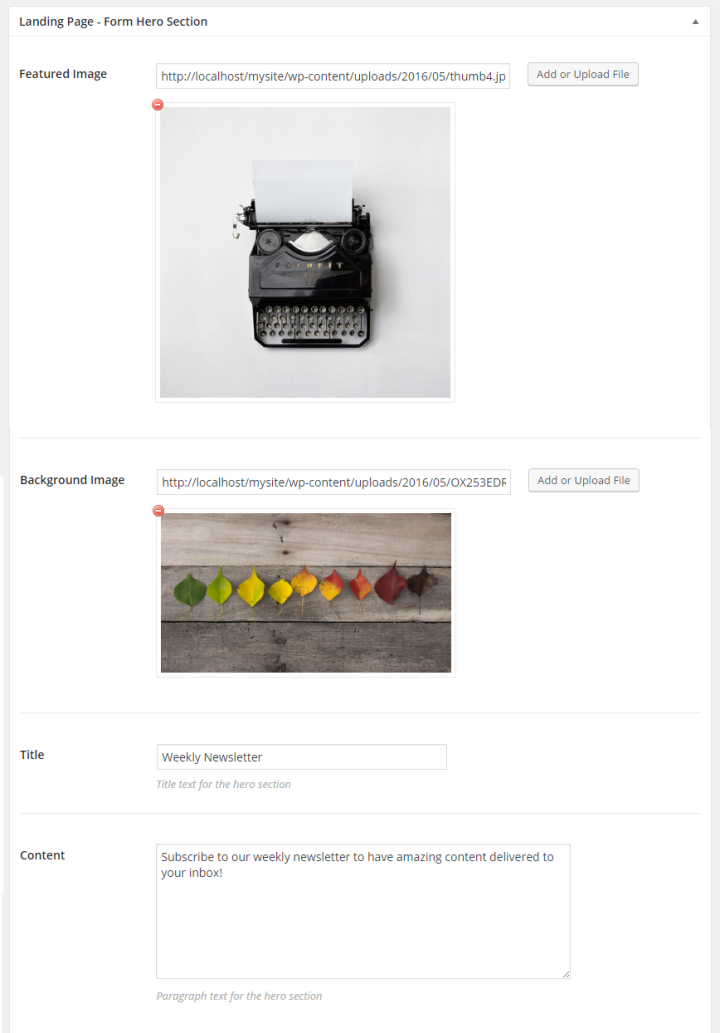
- Featured Image.
- Background Image.
- Title.
- Content.
Once you’ve added all of this, your site’s landing page should look something like this:
Logos Section
The Landing Page – Logos Section allows users to add logos of brands that their work may have appeared on. A popular example of this is an As Seen On section.
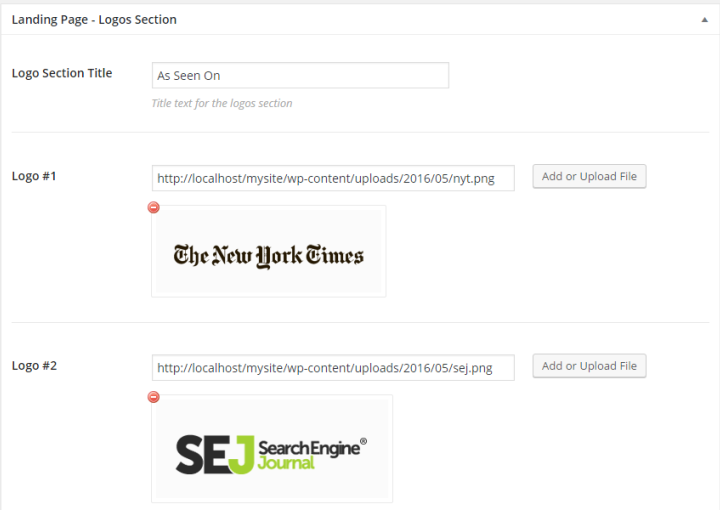
- Add a title for the logos section.
- Add the logos of the companies you’d like to have displayed. You can add up to four logos.

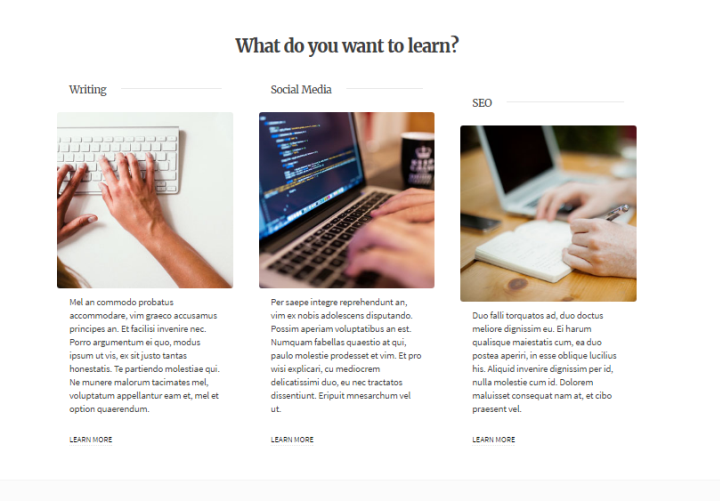
Featured Content Section
The Landing Page – Featured Content Section allows users to display their site’s featured content with:
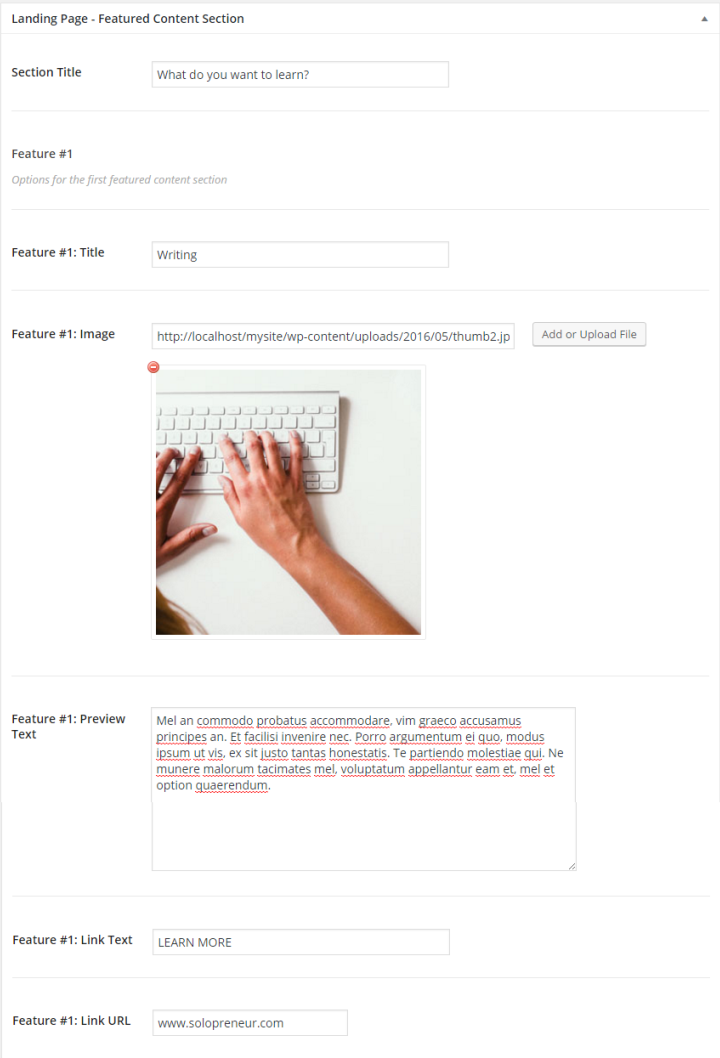
- Title.
- Image.
- Brief Description.
- Link Text.
- Link URL.
Users can add up to three features on their website. Once you’re done filling out the details, it’ll look something like this:
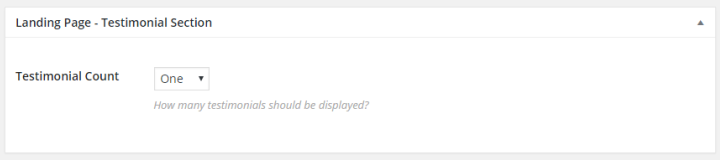
Testimonial Section
Users can upload testimonials of their work, products, or services through the Landing Page -Testimonial Section. To start things off, choose how many testimonials you’d like to have displayed by selecting its count from the Testimonial Count drop-down menu.
Once you’re done adding the details, it should look something like this:

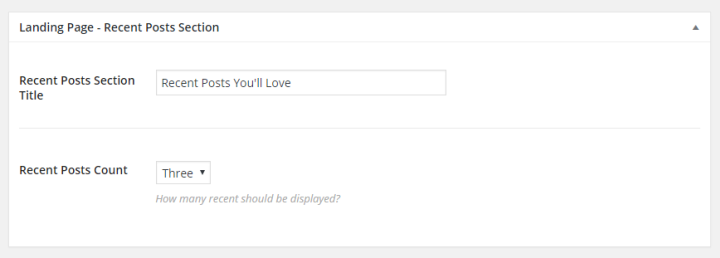
Recent Posts Section
The recent posts section allows users to add recent posts to their landing page to captivate the readers’ attention.
- Head over to the Landing Page – Recent Posts Section and give your recent posts a title.
- Select how many recent posts you’d like to have displayed.
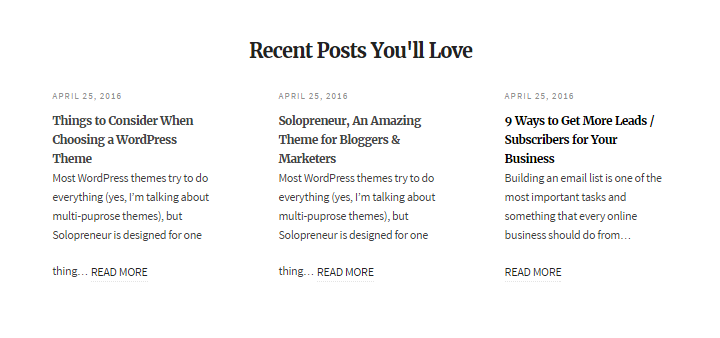
Once you’re done adding the details, it should look something like this:
Button Section
At the end of the landing page, you can add another button if you’d like.
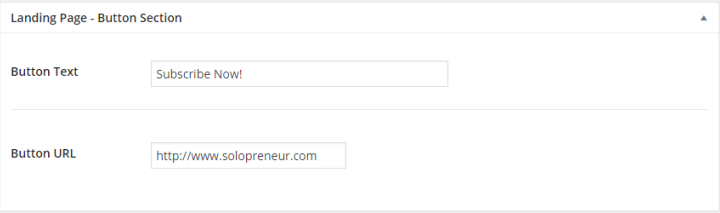
- If you’d like to enable this option then scroll down to the Landing Page – Button Section.
- Give your button a name.
- Assign the URL that the button should re-direct the user to.