How to Start a WordPress Blog in 6 Simple Steps
Starting a blog can be both an exciting and confusing time. But it doesn’t have to be difficult.
These days starting your very own blog is practically automated. With a few signups here, and a couple of configurations there you can bet you will have a brand new website up and running in literally minutes.
Today I am going to show you how to start a blog using the web hosting provider SiteGround. Not only do they provide exceptional service to their customers for a reasonable monthly fee, their setup process is super simple and easy to understand. This makes them a great choice for those website owners just starting out, as well for seasoned website owners who just appreciate a good service when they see one.
Step 1: Decide What You Want to Blog About
Hopefully if you are at this point in the game already you have a fairly solid idea of what your blog will be about. If not, that’s okay too. Just make sure before you get to the technical portion of setting up your blog you have a sense of direction first.
Darren Rowse, founder of ProBlogger, recommends asking yourself some of the following questions when deciding which topic your blog will be about:
- Are you interested in the topic?
- Is the topic popular?
- Is the topic growing or shrinking?
- What is the competition like?
While there is a lot more that goes into choosing the topic for your blog, answering some of these important questions can get you on the right track.
Step 2: Select a Domain Name
For those of you who have never started a blog before, a domain name is the address of your blog. For instance, in the case of www.myblogisawesome.com, ‘myblogeisawesome’ is the domain name.
Every person that starts a blog must have a unique domain name not used by anyone else in the world.
Usually when starting a blog you have to purchase your domain name first and then continue with the technical set up of your blog. Luckily for you, if you choose to use SiteGround for your web hosting needs (more on that to come) you get a free domain name with your subscription that adds to the ease of setting your blog up.
Step 3: Choose a Hosting Provider
Every website must have a hosting provider that plays the middleman between your website and your website visitors. Hosting providers provide space on their servers which are either owned or leased by website owners. These servers hold all of your website’s information and provide Internet connectivity making it so your website can be seen on the Internet.
There are many website hosting providers to choose from that vary in services provided, support, and price. For those just starting out, check out our guide to choosing the best WordPress hosting provider for your individual needs.
For today’s instruction I am going to use SiteGround to show you how to get your blog up and running.
Step 4: Set Up Your Blog Using SiteGround
The installation of your blog using SiteGround is an easy and quick process. The first thing you will want to do is follow this link to SiteGround’s hosting plans to get started.
Choose a Hosting Plan
SiteGround offers users 3 plans to choose from. All three plans come with essential features such as a free domain name, full SSD storage, free daily backups, 24/7 support, cPanel and SSH, and a 30 day money back guarantee. There are additional features added as the plan increases in price that are suitable for those websites that are scaling regularly.
For the purposes of this tutorial I am going to go with SiteGround’s StartUp Plan since the main focus today is on those starting up a brand new website. It is safe to say your traffic will be minimal when just starting out (unless you are just super lucky – in that case I want to know your secret!).
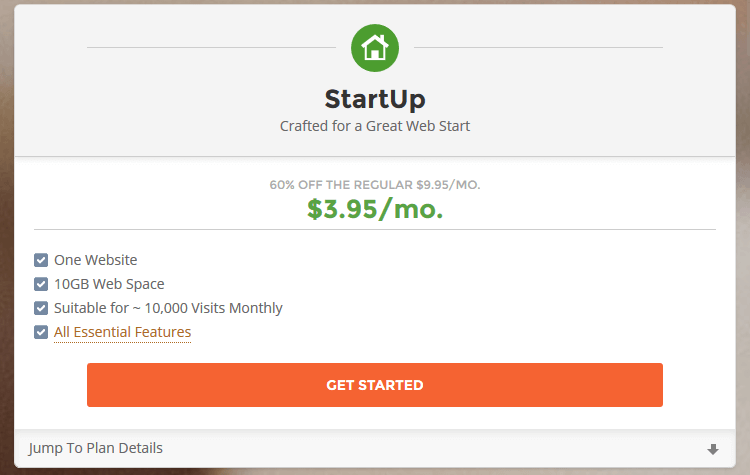
Simply click Get Started and move to the next step in setting up your blog.
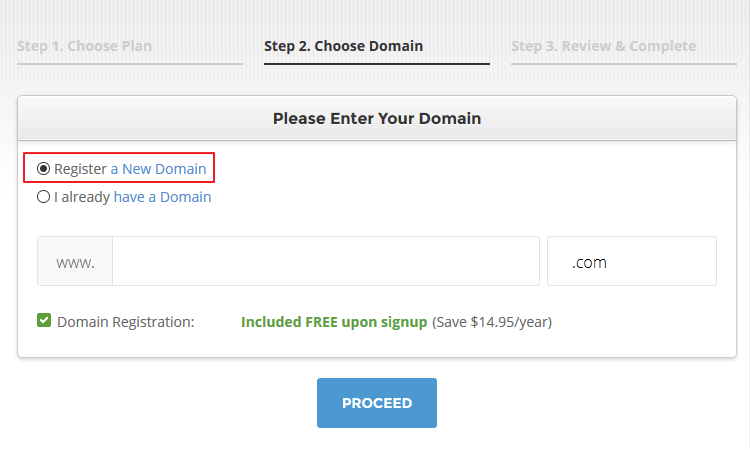
Designate a Domain Name
The next step after choosing which hosting plan will work for your needs is to designate your domain name. If you have previously purchased a domain name that you will be using with SiteGround, click on I Already Have a Domain and move on to the next step by selecting Proceed.
If you are like me and are taking advantage of SiteGround’s free domain name feature, click on Register a New Domain and enter the name into the appropriate box.
Review & Complete
Once you enter your chosen domain name you will be taken to the next screen for reviewing and completing your plan options. You will also be congratulated if your domain name is indeed available for use. Remember, no two domain names can be the same.
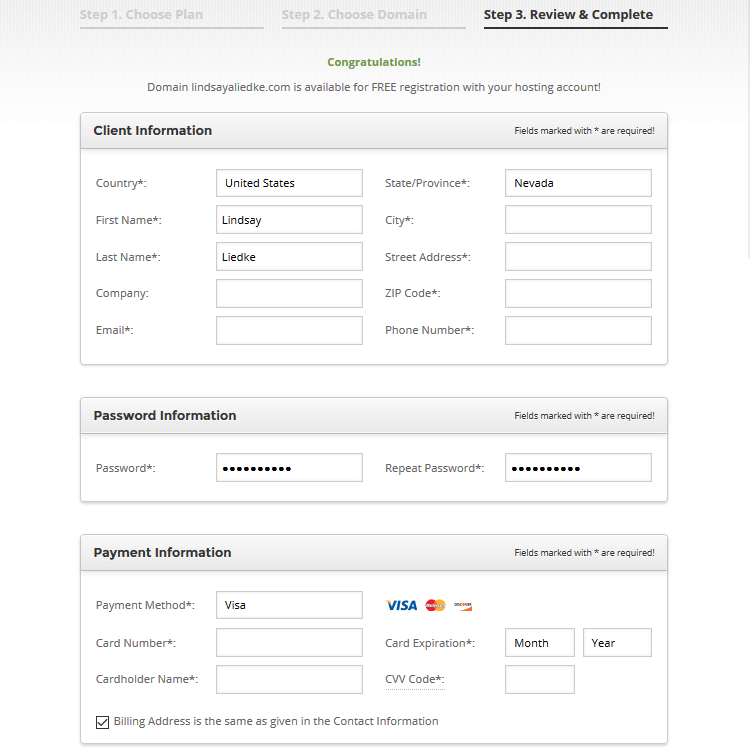
The first few boxes will ask you for some general information such as your name, address, phone number, and email. You will also be asked to choose a password to be used to access your SiteGround hosting account. Lastly you will enter your chosen method for payment.
Before making your payment there will be another box with special features you can add to your hosting service.
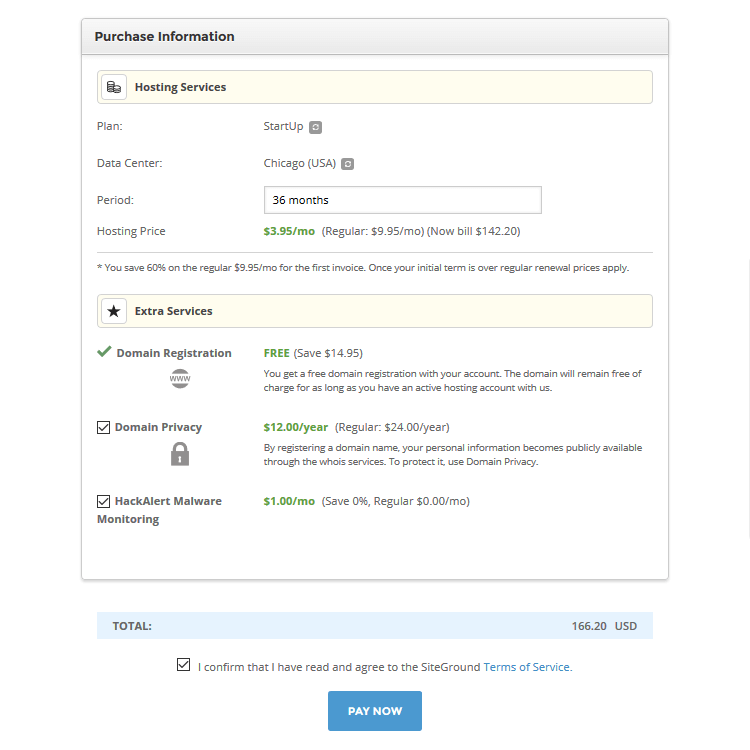
- Choose the data center that best represents your intended audience.
- Choose your subscription length.
- Choose extra services.
You can decide which services best meet your individual needs and budget. When you have correctly filled out all of the information, have decided on any extra services, and confirmed that you have read and agree to SiteGround’s Terms of Service, there is only one thing left to do…Pay Now.
Step 5: Install WordPress onto Your Website
Once you have completed the payment for your web hosting, you can immediately proceed to SiteGround’s Customer Area where you can manage your account.
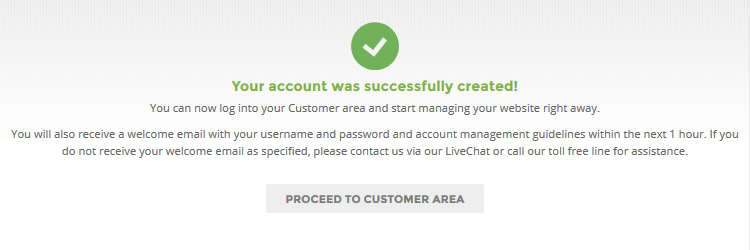
Upon selecting Proceed to Customer Area you will be prompted with SiteGround’s Website Setup Wizard.
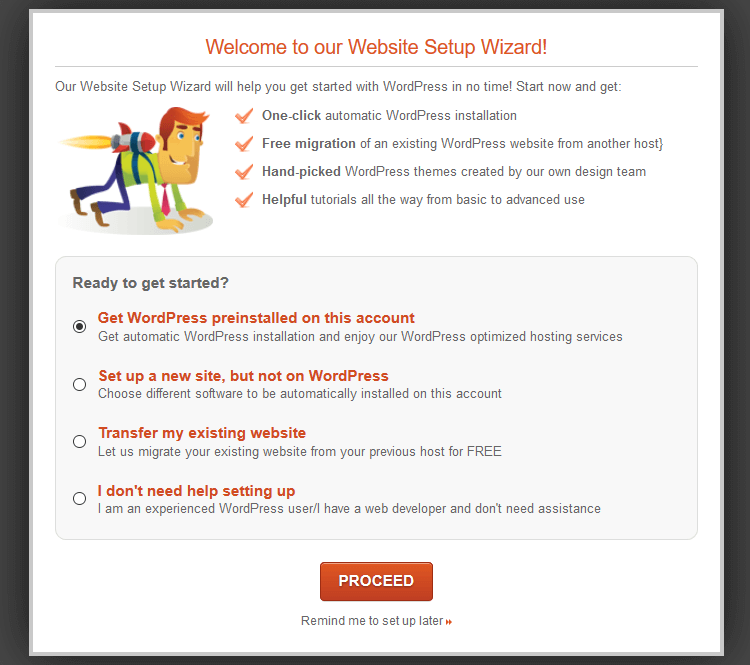
Here you can choose to have WordPress preinstalled onto your account, set up a new website but not on WordPress, transfer an existing account, or DIY.
I chose to have WordPress preinstalled onto my account via the automatic installation provided by SiteGround.
Software Installation
To begin the installation process, SiteGround is going to ask you for your Admin email, username, and password that will be associated with your WordPress installation. This is the information you will use when logging into the back end of your website to make changes such as adding blog posts.

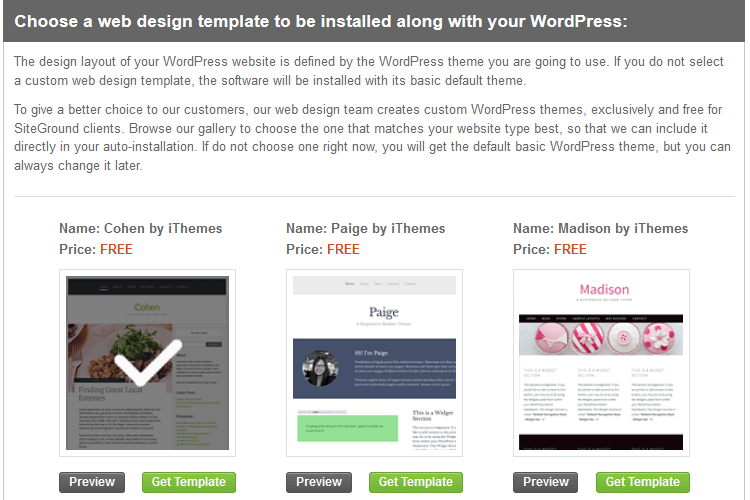
You will then have the option to choose from any of the several free themes SiteGround offers account holders to be installed onto your WordPress website. This can be changed later if you like using any number of available WordPress themes on the market.
When you are finished, click Submit located near the bottom of the screen. You will be congratulated when everything is submitted correctly.

Step 6: Check WordPress Installation
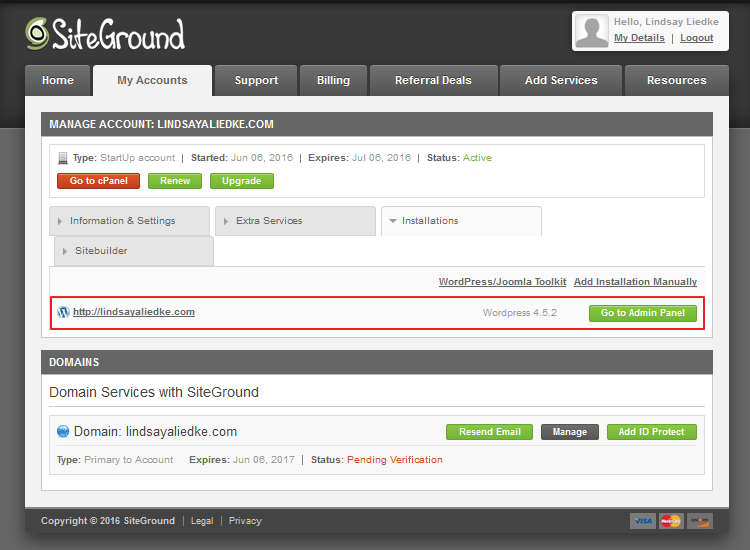
Seemed too easy right? Well, to check to make sure everything is actually installed correctly, navigate to My Accounts from the Homepage of your SiteGround Customer Area.
Here you will see the domain name you chose with a small WordPress icon located right next to it ensuring you that WordPress was installed correctly onto your web hosting account.
You should have also received an email confirming your installation with a link to your website’s admin URL for managing you website.
Simply click on that URL, login using the password information chosen during Step 5 > Software Installation of this tutorial, and see that your website is up and running.
Now all that is left is for you to start blogging!
Final Thoughts
Setting up a blog is not supposed to be difficult, or even that confusing. After you learn the basics about domain names and web hosting providers the process is really fairly simple. This is especially true when using SiteGround for your web hosting needs.
If you are just starting out with your first WordPress blog, I hope this tutorial has encouraged you to get started.
Many people fear the first step because they are unsure of what to do. However, following the above outlined steps will get you on the right track in no time so you can start the fun part – creating content for your audience!
What worried or confused you when you first set up your blogging website? Do you use SiteGround for your web hosting needs? I would love to hear all about it in the comments below!